Introduction to How to Brine Chicken for Juicy Results Every Time
Hey there, fellow home cooks! Do you ever feel like your chicken just comes out a little… dry? I totally get it. Life gets so busy, right? Between work, family, and everything in between, sometimes a truly succulent chicken dinner feels like a distant dream. But I’m here to share a secret weapon. Learning how to brine chicken for juicy results every time is a game-changer. It’s surprisingly simple. This method guarantees moist, flavorful chicken. It’s perfect for busy weeknights. It also impresses guests at dinner parties. Get ready to elevate your poultry game!
Table of Contents
Why You’ll Love This How to Brine Chicken for Juicy Results Every Time
This simple technique is pure magic. You’ll get incredibly moist chicken. Every single bite bursts with flavor. It’s truly effortless. Busy schedules won’t stand in your way. This method makes it easy. You’ll impress everyone with your cooking skills. Get ready for rave reviews!
Ingredients for How to Brine Chicken for Juicy Results Every Time
Let’s talk about what you’ll need. Gathering your ingredients is easy. You likely have most at home already. This recipe is super forgiving. Don’t stress too much about exact amounts. Specific quantities are listed below. You can print them out easily!
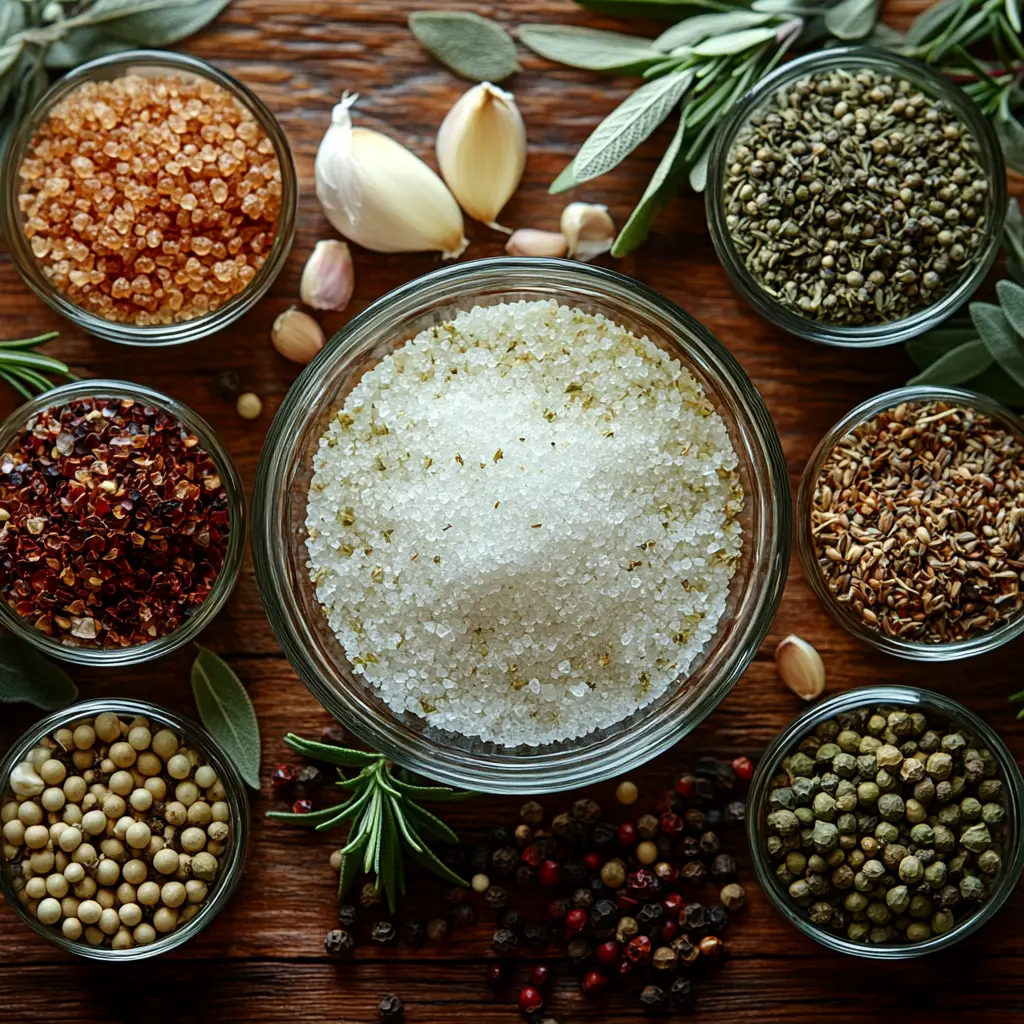
Core Brine Components
Water
This is our base. It carries all the good stuff. You’ll need plenty of it. It ensures the chicken is fully covered.
Kosher Salt
Salt is key here. It helps the chicken retain moisture. Kosher salt is preferred. Its larger grains make it easy to measure. It also dissolves beautifully.
Sugar
Sugar balances the saltiness. It also helps with browning. A touch of sweetness works wonders. It creates a more complex flavor profile.
Flavor Enhancers (Optional)
Fresh Herbs
Think rosemary or thyme. They add a lovely aroma. They infuse the chicken with subtle notes. Fresh is best for vibrant flavor.
Garlic Cloves
A few smashed garlic cloves are great. They lend a savory depth. Garlic makes everything taste better. It’s a simple flavor booster.
Peppercorns
Whole peppercorns add a gentle spice. They don’t overpower the chicken. They contribute to the overall complexity. Just a small handful works.
Bay Leaves
Bay leaves offer a unique fragrance. They impart a mild, herbaceous taste. Remove them before cooking the chicken. They do their job in the brine.
How to Brine Chicken for Juicy Results Every Time
Now for the fun part! Let’s get to the actual steps. It’s easier than you think. Follow along closely. You’ll master how to brine chicken. You’ll achieve wonderfully juicy chicken. It’s a simple process. It guarantees delicious results. Your family will thank you. Prepare for compliments!
Step 1: Prepare the Brine Solution
Grab a pot. Combine water and salt. Add sugar next. Stir it all together. Make sure salt and sugar dissolve. If you’re adding herbs, do it now. Garlic and peppercorns go in too. Bay leaves are a nice touch. Just stir until dissolved. Don’t let it boil!
Step 2: Cool the Brine Completely
This step is super important. The brine must be totally cool. Warm brine can cook the chicken. That’s not what we want. Let it sit on the counter. You can speed this up. Place the pot in an ice bath. This cools it quickly. Patience here pays off.
Step 3: Submerge the Chicken
Get a sturdy bag. A zip-top bag works great. Or use a non-reactive container. Place your chicken pieces inside. Make sure they fit nicely. Pour the cooled brine over them. The chicken needs to be covered fully. No dry spots allowed. Ensure complete submersion for even results.
Step 4: Refrigerate and Brine
Tuck the bag into the fridge. This is where the magic happens. The chicken absorbs the flavors. It also draws in moisture. Brining makes chicken so tender. It’s a simple way to boost flavor. We want perfectly moist chicken.
Brining Time Guidelines
Boneless, skinless breasts need less time. Thirty minutes is usually enough. For bone-in pieces, allow more. Up to four hours is good. Don’t go too long, though. It can make chicken too salty. Adjust based on thickness. It’s a delicate balance.
Step 5: Dry the Chicken Thoroughly
Remove chicken from the brine. Discard the used brine liquid. Pat the chicken very dry. Use paper towels for this. Get them nice and dry. This helps with browning. It’s crucial for crispy skin. Don’t skip this vital step.
Tips for Success
- Always use cool brine. This prevents premature cooking.
- Pat chicken completely dry. This is key for browning.
- Don’t over-brine. It can make chicken too salty.
- Discard brine after use. Never reuse it for food safety.
- Adjust brining times. Thicker cuts need more time.
Equipment Needed
- A pot for making the brine. A saucepan works fine.
- A resealable plastic bag. A large bowl is an alternative.
- Measuring cups and spoons. For accurate ingredient amounts.
- Paper towels. Essential for drying the chicken.
Variations for How to Brine Chicken for Juicy Results Every Time
Want to switch things up? Brining is super versatile. You can add so many flavors. It keeps things exciting. Here are some ideas to try.
- Spicy Kick: Add a few sliced jalapeños. Include a pinch of red pepper flakes. This gives your chicken a nice warmth.
- Citrus Brightness: Toss in lemon or orange slices. A little zest works wonders too. It adds a refreshing tang.
- Smoky Depth: A tablespoon of smoked paprika is lovely. Or add a few chipotle peppers in adobo sauce. It creates a deep, rich flavor.
- Herbal Infusion: Experiment with different herbs. Sage, tarragon, or marjoram are great. They offer unique aromatic qualities.
- Sweet & Savory: A splash of soy sauce or Worcestershire sauce adds umami. A little honey or maple syrup can add sweetness.
- Vegetarian Option: While this is for chicken, you can adapt the brine base. Use it for firm tofu or tempeh. Adjust brining times accordingly.
Serving Suggestions
This perfectly brined chicken is a star. Serve it with roasted vegetables. A simple side salad is also nice. Consider some mashed potatoes. A crisp white wine pairs beautifully. It makes a stunning centerpiece.
FAQs about How to Brine Chicken for Juicy Results Every Time
Got questions about brining? I’ve got answers! It’s a common topic. Many home cooks wonder about the details. Let’s clear things up. We’ll ensure you’re confident. You’ll be brining like a pro. Here are some frequent queries.
How long should I brine chicken?
Boneless, skinless chicken breasts brine quickly. About 30 minutes to an hour is great. Bone-in pieces need more time. Think 2 to 4 hours. Avoid over-brining. It can make the chicken too salty. Always check thickness.
Can I use table salt instead of kosher salt for brining chicken?
Yes, you can. But you need less table salt. Table salt is finer. It’s also more concentrated. Use about half the amount. Kosher salt is generally easier. It dissolves well and is less potent.
What’s the difference between wet and dry brining?
Wet brining uses a saltwater solution. This is what we’re doing here. It adds moisture and flavor. Dry brining uses just salt. You rub salt onto the chicken. It draws out moisture. Then it reabsorbs it. This creates crispier skin.
Can I brine chicken parts separately?
Absolutely! Brining chicken parts separately is smart. It allows for more even brining. Smaller pieces like breasts brine faster. Larger pieces like thighs need more time. Adjust accordingly for best results.
Is it safe to leave chicken brining overnight?
Generally, no. It’s not recommended. Leaving chicken in brine too long can make it mushy. It can also become overly salty. Stick to the recommended times. This ensures perfect, juicy chicken every time.
Final Thoughts
Mastering how to brine chicken for juicy results is truly rewarding. It’s a simple step. It makes a huge difference. Your chicken will be incredibly moist. It will be bursting with flavor. No more dry, disappointing poultry! This technique is a kitchen superpower. It’s perfect for busy days. It’s also great for special occasions. Enjoy the compliments. Enjoy the deliciousness. Happy cooking, everyone!
Print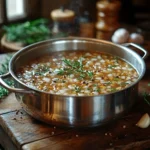
Brine Chicken: Juicy Results Every Time!
- Total Time: 30 minutes to 4 hours (plus cooling time for brine)
- Yield: Depends on the amount of chicken brined
- Diet: Unspecified
Description
Learn the simple technique of brining chicken to ensure incredibly juicy and flavorful results every time you cook it. This method is perfect for various chicken cuts and cooking methods.
Ingredients
- 4–6 cups water
- 1/4 cup kosher salt
- 2 tablespoons sugar
- Optional: Herbs (rosemary, thyme), garlic cloves, peppercorns, bay leaves
Instructions
- In a pot, combine water, salt, and sugar. Stir until salt and sugar are dissolved. If using, add optional aromatics.
- Heat the brine mixture gently until the salt and sugar are fully dissolved. Do not boil. Let it cool completely.
- Place chicken pieces in a resealable bag or a non-reactive container.
- Pour the cooled brine over the chicken, ensuring it is fully submerged.
- Refrigerate for at least 30 minutes for boneless, skinless chicken breasts, or up to 2-4 hours for bone-in, skin-on pieces. Do not brine for too long as it can make the chicken too salty.
- Remove chicken from brine, discard brine, and pat chicken dry with paper towels.
- Cook chicken using your preferred method (grilling, baking, pan-frying).
Notes
- Kosher salt is recommended as it dissolves easily and has larger grains, making it easier to measure.
- Adjust brining time based on the size and cut of the chicken.
- Patting the chicken dry after brining is crucial for achieving a good sear or crispy skin.
- Do not re-use brine.
- Prep Time: 5 minutes
- Cook Time: 0 minutes (brining is not cooking)
- Category: Poultry Preparation
- Method: Brining
- Cuisine: General
Nutrition
- Serving Size: N/A (depends on chicken portion)
- Calories: N/A
- Sugar: N/A
- Sodium: N/A (will be higher due to brine)
- Fat: N/A
- Saturated Fat: N/A
- Unsaturated Fat: N/A
- Trans Fat: N/A
- Carbohydrates: N/A
- Fiber: N/A
- Protein: N/A
- Cholesterol: N/A